
An outdated rental kitchen can feel difficult to improve when you can’t replace the cabinets or change the flooring. Fortunately, practical rental kitchen ideas can make it brighter and more organized without a renovation.
Start with portable upgrades, such as lighting, a cart, and washable textiles, before covering surfaces or changing fixtures. Your security deposit matters more than a dramatic makeover.
Choose the biggest everyday problem first, then match the improvement to your budget, lease, and move-out plan.
Key Takeaways
- Start with changes you can carry away, especially if your lease ends soon.
- Get written landlord permission before painting, drilling, or changing fixtures, and save every original part.
- Treat adhesive products carefully. A removable label doesn’t guarantee clean removal from your particular wall.
Plan Around Your Lease and Your Budget
Separate decorating from alterations
In a rental kitchen, a freestanding cart, new towels, and a washable rug usually involve fewer property changes than paint or plumbing. However, your lease still sets the rules for alterations.
Get landlord permission in writing before painting cabinets, drilling holes, removing cabinet doors, or replacing permanent fixtures. Include whether you’ll restore the original condition. Approved paint may still need to return to its original color.
Photograph the kitchen before starting, including existing scratches, chipped paint, and damaged surfaces. Keep these pictures with your move-in records.
Spend on what you can keep
For a short lease, prioritize renter-friendly, portable items you can remove without damage. A longer stay may justify more installation work, but restoration costs still belong in your budget.
The prices below are starting estimates drawn from Kitchen Cabinet Kings’ makeover guide, not complete installed costs. Materials, coverage, and labor can increase the total.
There’s no spending threshold that automatically earns reimbursement. Agree on any landlord contribution or rent credit in writing before purchasing materials. Include the amount, approved work, receipts, and ownership at move-out.
Rental Kitchen Ideas for Tired Cabinets
1. Swap the cabinet hardware
Cost: From $2 per piece. Difficulty: Easy.
New knobs or pulls can refresh dated cabinets without changing their finish. Choose hardware that uses the existing holes, with the same distance between screw centers.
Count every handle before buying. A low price per piece can still add up across a large kitchen.
Keep the original hardware and screws in labeled bags. Avoid overtightening replacements, which can damage cabinet fronts. Reinstall the originals before leaving unless your landlord agrees that the new hardware can stay.
A consistent finish also helps older cabinets look more coordinated.
2. Remove selected upper cabinet doors
Cost: Free. Difficulty: Moderate.
With permission, removing one or two upper cabinet doors creates an open shelving effect. Choose cabinets that already hold attractive, frequently used dishes.
Photograph the hinges before removal. Label each door and its hardware so everything returns to the correct position. Store doors somewhere dry and protected.
Keep the exposed shelves simple. Everyday plates, matching glasses, and a small serving bowl are easier to maintain than crowded displays.
If storage is already messy, keep the doors. Open shelving makes every item visible and brings more dusting.
Refresh the Backsplash Without Assuming It’s Removable
3. Use peel-and-stick backsplash products carefully
Cost: Around $30 for a small project. Difficulty: Moderate.
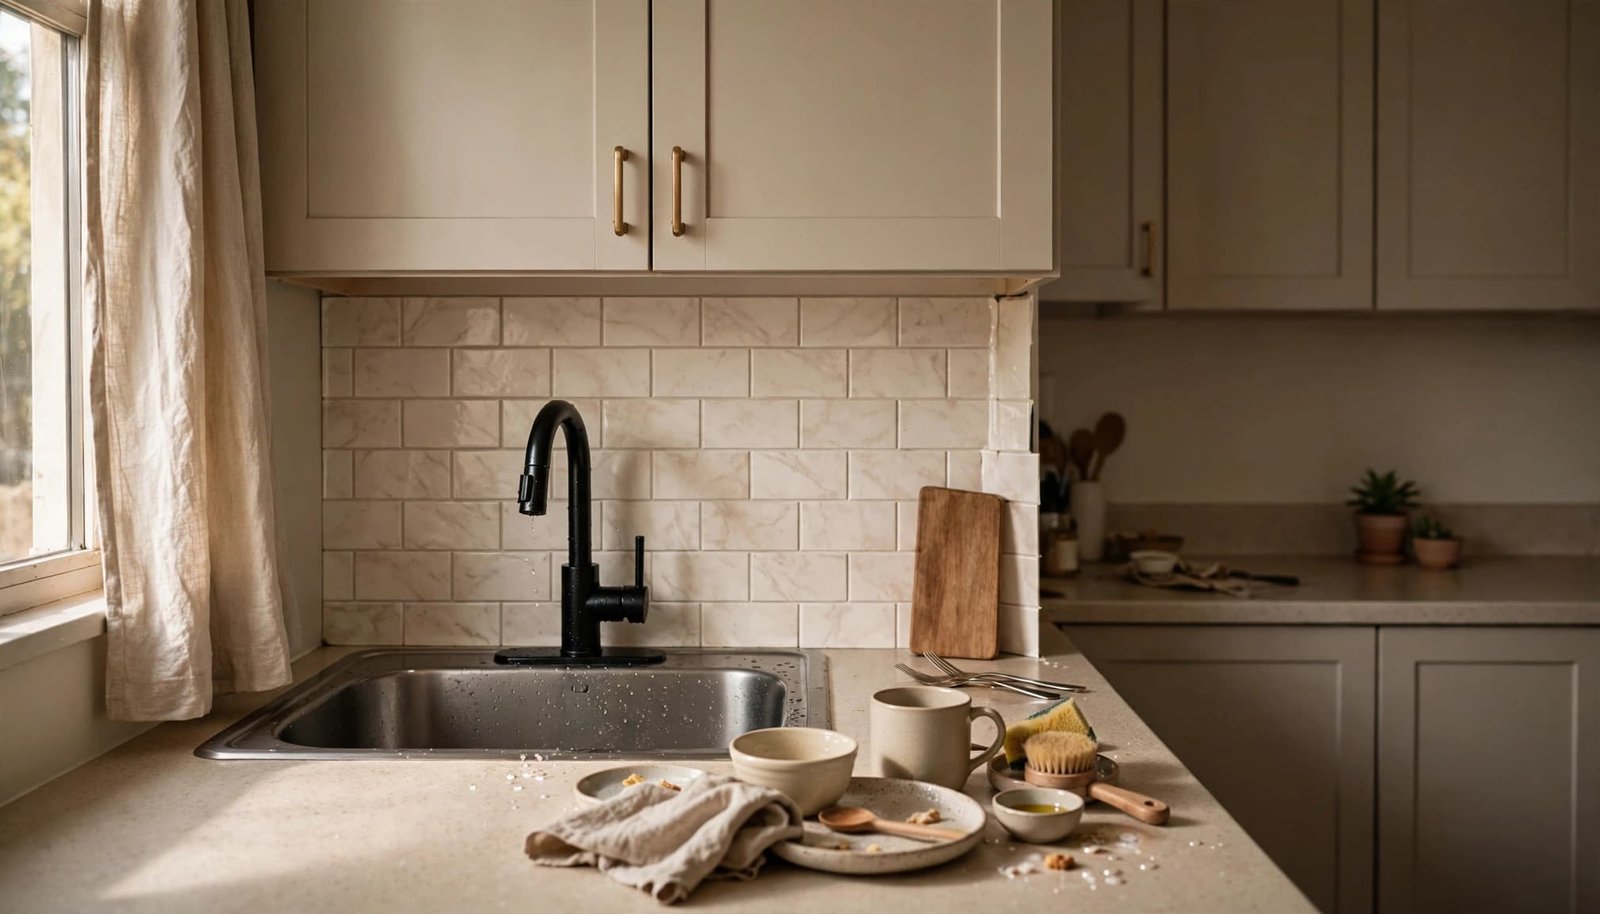
A peel-and-stick backsplash is a common budget upgrade, but larger kitchens can cost considerably more. Account for cuts, pattern matching, and waste when calculating coverage.
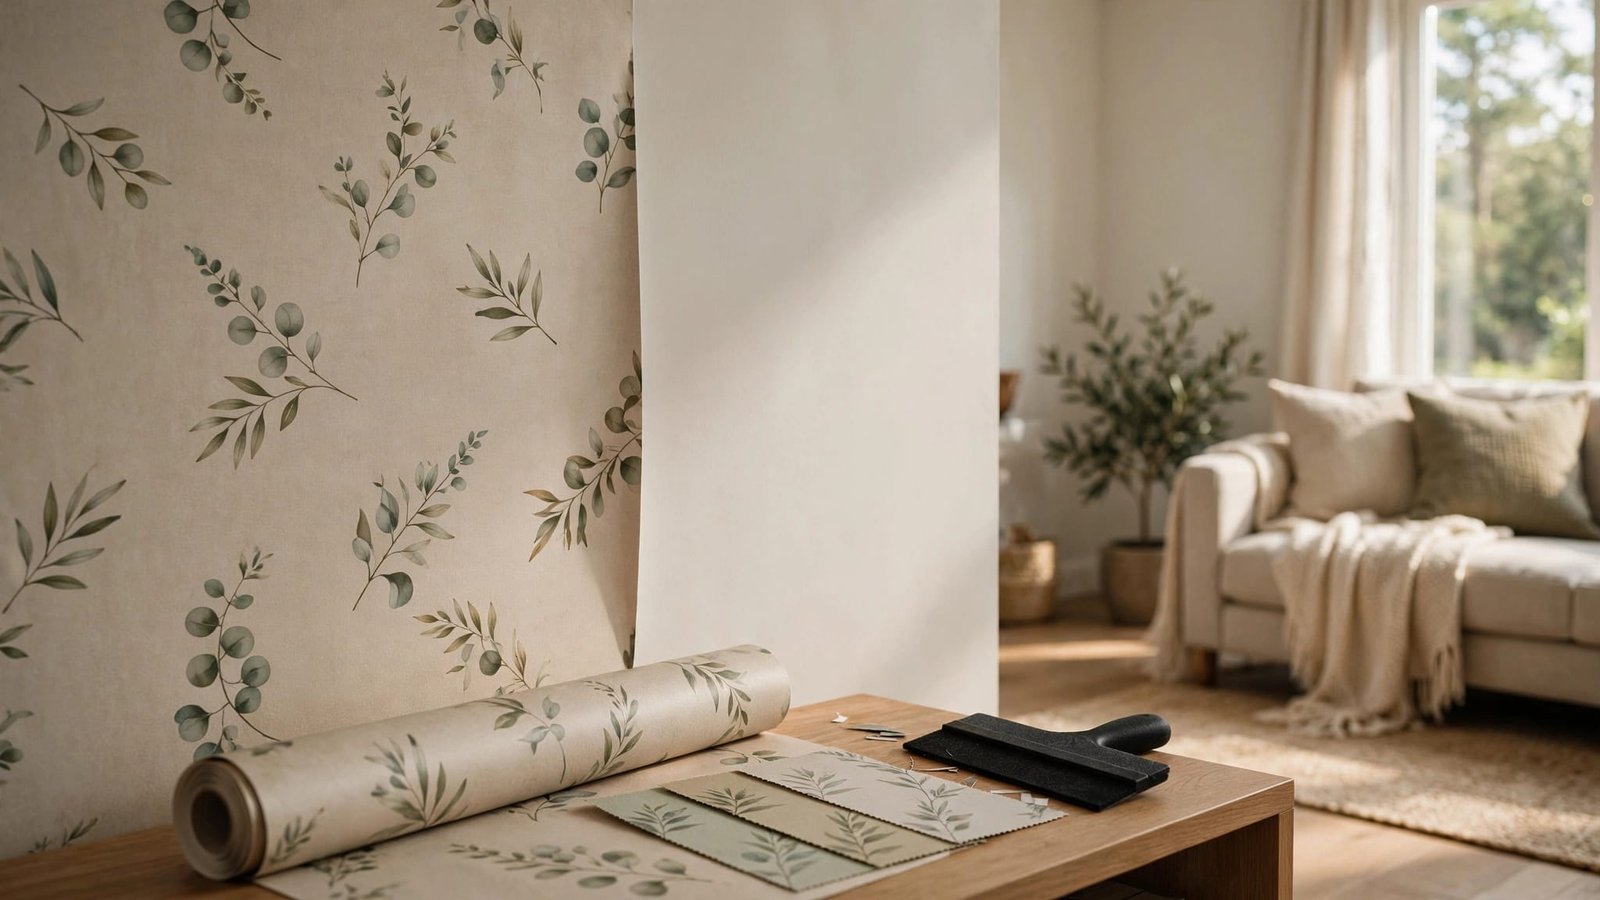
Smart Tiles offers adhesive backsplash tiles. Tempaper offers removable peel-and-stick wallpaper and vinyl designs, but a tile-look pattern doesn’t establish suitability behind a sink or stove.
Most peel-and-stick tiles shouldn’t be treated as reliably removable without damage. The Homes I Have Made’s rental backsplash installation guide uses a protective layer beneath the tiles.
Painter’s tape or contact paper can separate tile adhesive from paint, but test that layer before installation. Follow product instructions and appliance heat-clearance requirements.
4. Keep vinyl wrap away from demanding surfaces
Cost: Under $20 for some small projects. Difficulty: Moderate.
Contact paper or vinyl wrap can disguise a small, approved appliance surface. Keep refrigerator vents, seals, controls, and hot areas uncovered.
Wrapping countertops needs more caution. A covering may not resist knife damage or prolonged moisture, and clean removal isn’t assured. Don’t assume it’s safe for direct food contact.
Use a cutting board for food preparation. A movable tray or freestanding work surface is a simpler, renter-friendly option for an unattractive counter.
Our guide to choosing peel-and-stick wallpaper covers surface compatibility and why testing removal matters.
Brighten Dark Work Areas Without Electrical Work
5. Add under-cabinet lighting
Cost: $20 to $40. Difficulty: Easy.
Battery-operated puck lights or LED bars make under-cabinet lighting easy to add and can brighten shadowy counters in as little as 10 minutes. Longer installations depend on mounting and cable routing.
Place lights near the front underside of cabinets so they illuminate the worktop rather than only the wall. Choose a consistent light color across the kitchen.
Adhesive mounts still need caution with under-cabinet lighting. Use the supplied mounting method and avoid fragile finishes.
Rechargeable lights reduce disposable battery use, but they need regular charging. Keep switches accessible so the lighting remains useful during everyday cooking.
6. Try a plug-in pendant
Cost: Varies by fixture and mounting hardware. Difficulty: Moderate.
A plug-in pendant avoids hardwired electrical work. It can hang above a small dining area or cart and plug into a suitable nearby outlet.
Ceiling hooks still make holes, so get permission and use mounting hardware rated for the fixture’s weight. Don’t suspend it from an unsuitable adhesive hook.
Keep cords away from water, cooking heat, and walking routes. Avoid dangling cable across counters.
Our advice on lighting a more restful home also supports giving different lights clear purposes instead of relying on one harsh overhead fixture.
Improve Storage and Soften an Unattractive Floor
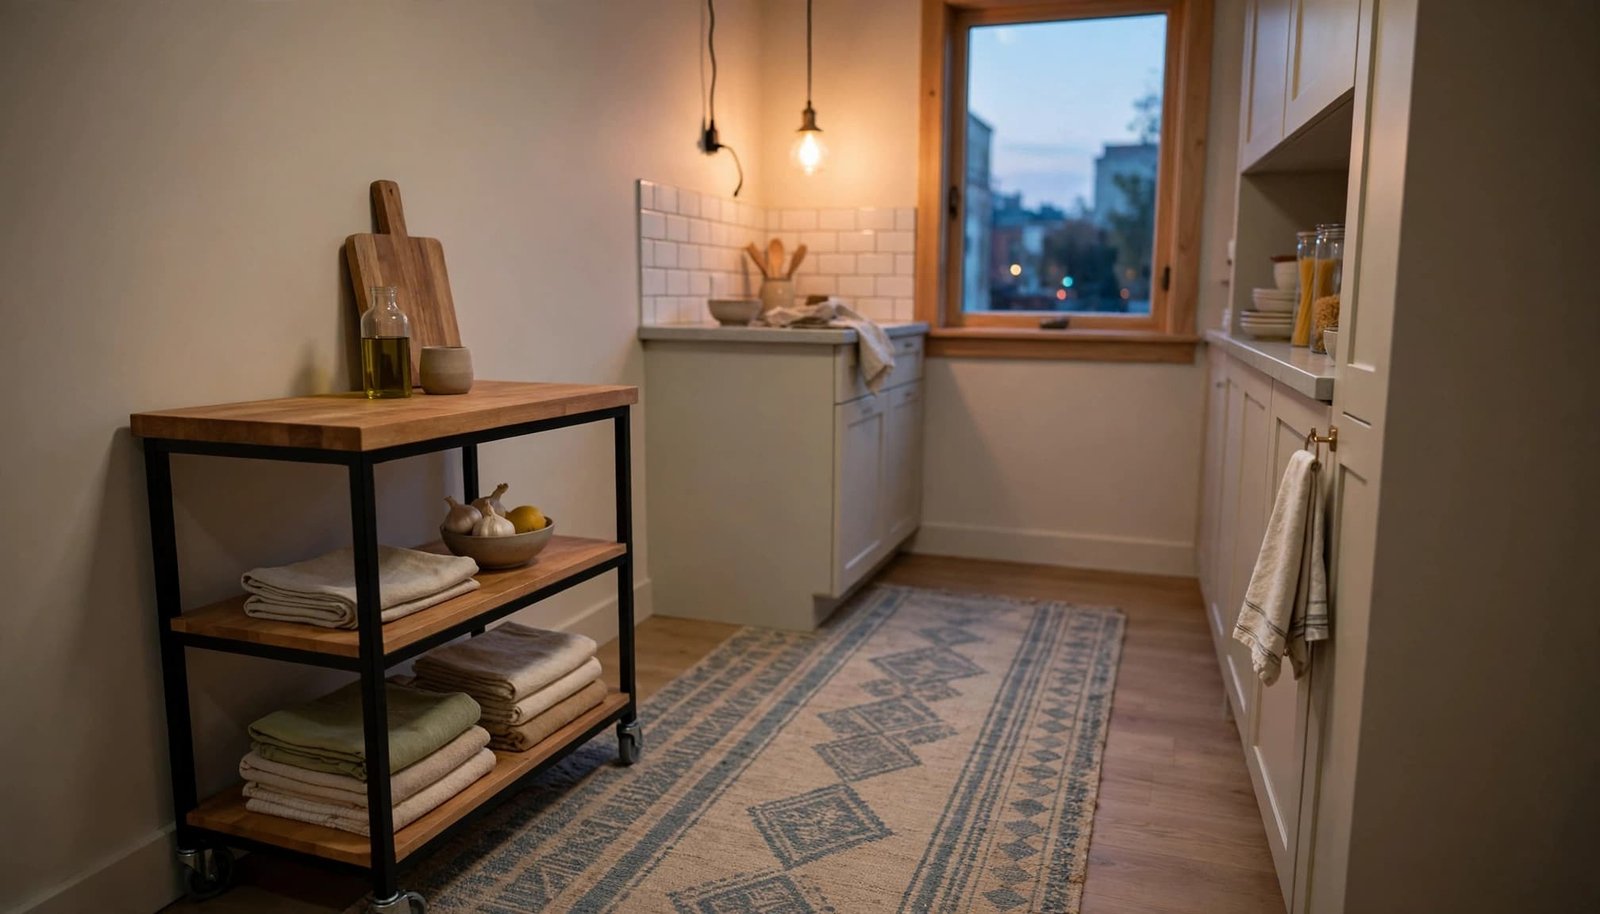
7. Add a rolling cart before mounting storage
Cost: Basic carts start around $30. Difficulty: Easy.
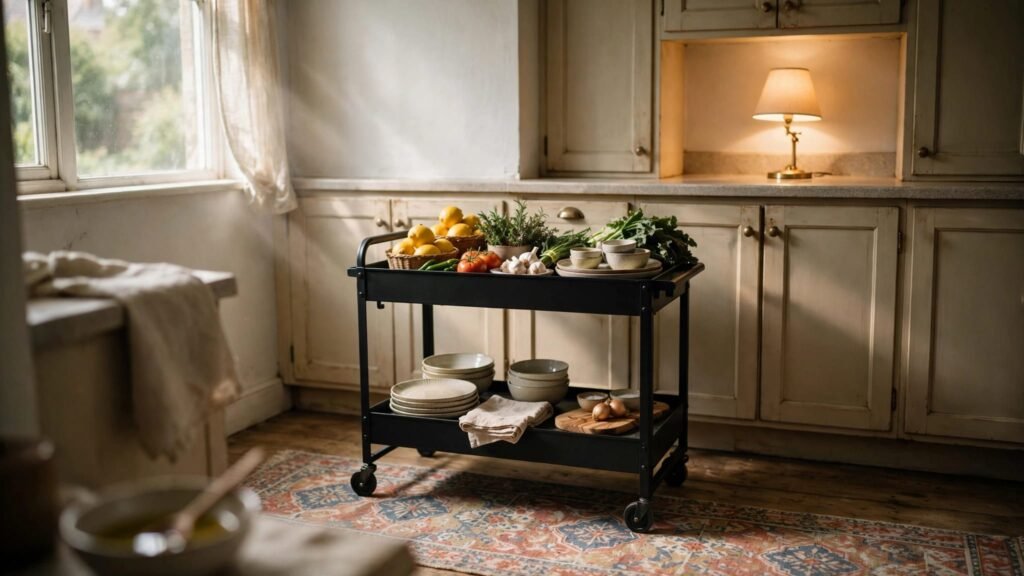
A rolling cart is a renter-friendly way to add storage in a rental kitchen without attaching anything to the property. Small utility models won’t necessarily provide a food-preparation surface, so choose one suited to your routine.
Measure its footprint with appliance doors open. Keep the main walking route clear, lock the wheels during use, and store heavy items low. Later, the cart can hold bathroom supplies or bedroom essentials.
Wall-mounted pot racks are another option, often under $30; ceiling racks cost around $70. They require permission and structural mounting appropriate to the loaded weight. Use studs or correctly rated anchors where suitable, not adhesive hooks.
8. Cover worn flooring with a washable runner
Cost: Varies by size and construction. Difficulty: Easy.
A washable rug can soften old flooring and introduce color without covering the entire room. Choose a low-profile design that doesn’t interfere with doors or create a trip hazard.
Use a suitable nonslip backing or rug pad. Keep the runner flat and away from areas where it could contact cooking heat.
Washable rugs often feel thinner than traditional rugs. Choose them for easy cleaning rather than expecting a thick, plush texture.
Coordinate the runner with towels and one other accessory. Leave enough visible floor to keep a small kitchen from feeling crowded.
Finish With Window Treatments or an Approved Faucet Swap
9. Replace window treatments without changing the trim
Cost: Around $50 to $80. Difficulty: Easy to moderate.
Roman shades or sheer curtains can soften a bare kitchen window. A suitable tension rod avoids drilling, while replacement shades may work with existing mounting points.
Don’t paint or alter window trim without written permission. Store original blinds, brackets, and screws together so reinstalling them is straightforward.
Keep fabric away from burners, heaters, and wet work areas. Choose washable material where cooking grease may collect.
If curtains would create a hazard, leave the window uncovered and add color through towels, dishes, or the runner instead.
10. Replace the faucet only with approval
Cost: Around $150, plus any installation labor. Difficulty: Advanced.
A new kitchen faucet can improve appearance and everyday use, but plumbing changes carry more risk than decorative updates. Get written landlord approval and choose a faucet that fits the existing sink holes and connections.
Use a plumber if you’re unfamiliar with shutoff valves, supply lines, or leak testing. An inexpensive makeover isn’t worthwhile if it causes water damage.
Keep the original faucet, fittings, and small parts in a labeled container under the sink.
Agree on whether the replacement stays or the original returns at move-out. Don’t assume the landlord will reimburse the purchase.
Make Removal Part of the Makeover
Keep an inventory of changed items, original parts, and permission emails. Give yourself time to restore the kitchen before the final inspection.
For Smart Tiles, the removal method described in the notes is gentle warming with a hair dryer, followed by slow lifting. Stop if the underlying finish starts coming away. Other adhesive products may require a different method.
A successful sample test reduces uncertainty, but it can’t predict removal after months or years on the wall.
Avoid strong solvents or extra glue. Both can turn a temporary update into repair work.
Spackle can fill small drilled holes in drywall, but matching texture and paint may also be necessary. It isn’t suitable for repairing holes in tile or cabinetry.
Take portable purchases with you. Reinstall originals and remove coverings unless written approval allows them to remain. Photograph the restored kitchen.
Frequently Asked Questions
Which upgrades carry the least risk to my deposit?
Freestanding carts, towels, removable countertop accessories, and properly secured rugs involve little alteration. Hardware swaps using existing holes are also straightforward to reverse when you retain the originals. Adhesives, paint, drilled mounts, and plumbing changes need more care.
Are Smart Tiles safe for every rental wall?
No product guarantees clean removal from every surface. Paint condition, preparation, installation, and time in place affect the result. Apartment Therapy’s Smart Tiles rental review offers a useful renter-focused perspective.
For installation, the Smart Tiles video tutorial demonstrates the process. Installation guidance doesn’t replace a surface-specific removal test.
Start With One Useful Change
A better-looking rental kitchen doesn’t require replacing everything you dislike. Start with the change that improves your daily routine, such as brighter counters or less crowded storage.
Keep reversibility at the center of your decisions. Save original parts, document approved changes, and budget for removal alongside installation.
Small, practical improvements can make the kitchen feel more comfortable without leaving an expensive project behind.30 Design Ideas for Bedrooms: Styles, Decorating Ideas for Bedrooms & Bedroom Decor Inspo